Authenticate your Salesforce Org using the OAuth 2.0 JWT

To start create a Private Key and Self-Signed Digital Certificate:
Create a connected app in your org:
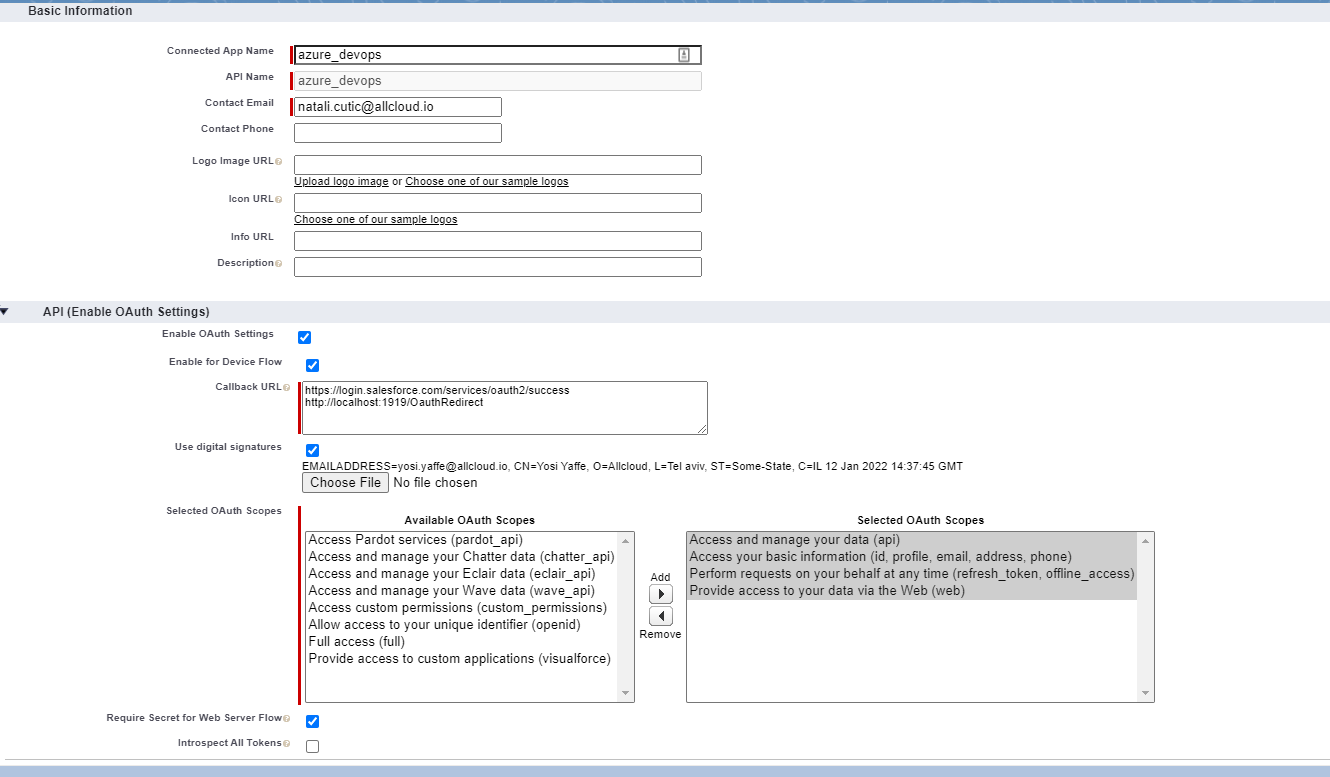
- Gir icon → setup → App Manager → New Connected App : Enter the details as follow:
Connected App Name : <YourProjectName>
API Name: <YourProjectName>
Contact Email: <YourEmail@allcloud.io>
Enable OAuth Settings: V
Enable for Device Flow: V
Callback URL: https://login.salesforce.com/services/oauth2/success
http://localhost:1919/OauthRedirect
Use digital signatures: V – choose file: choose your server.crt file
Selected OAuth Scopes: – Access your basic information (id, profile, email, address, phone)
– Access and manage your data (api)
– Provide access to your data via the Web (web)
– Perform requests on your behalf at any time (refresh_token, offline_access)
Require Secret for Web Server Flow: V
click save and continue.
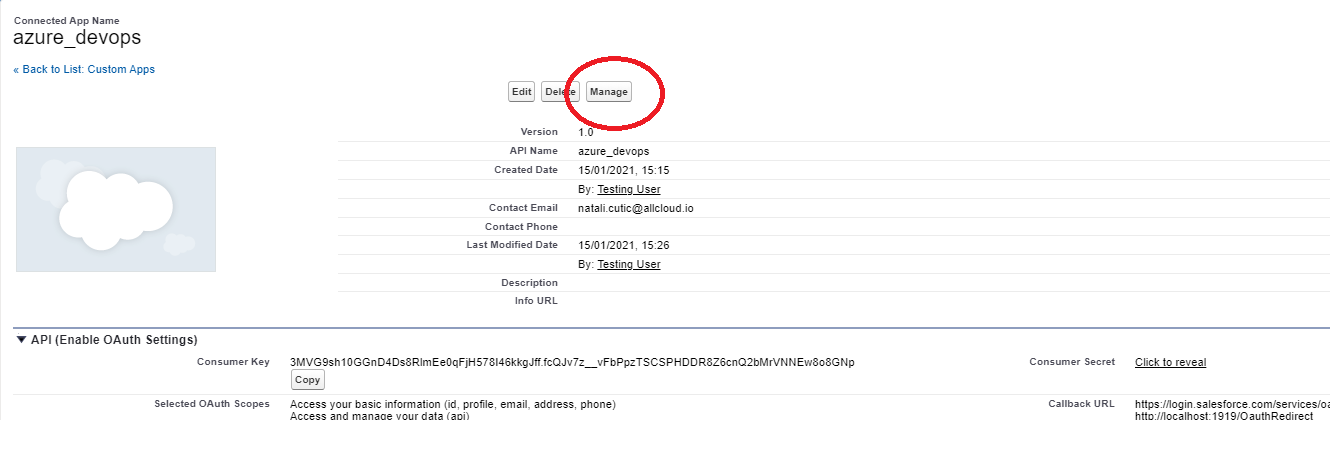
2. click manage and then Edit Policies:
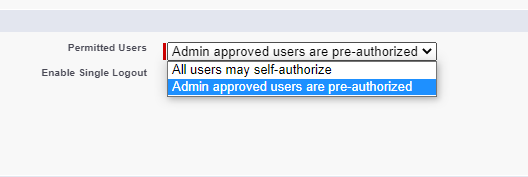
3. In the Permitted Users – choose “Admin approved users are pre-authorized”
Click save.
4. IMPORTANT!! – add your users profile to the connected app!!
On the manage page:
Go to Profiles – Manage Profiles
Select the profiles and permission sets that are pre-authorized to use this connected app. Create permission sets if necessary.

5. You are all done!
For connecting and deploying use the following commands:
//Authentication
sfdx force:auth:jwt:grant –username –jwtkeyfile –clientid –instanceurl –setdefaultusername
//Deployment
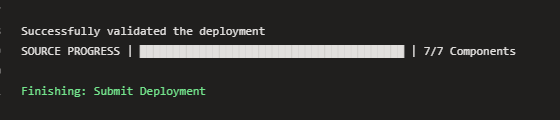
sfdx force:source:deploy –manifest ./manifest/package.xml –testlevel $(testlevel) $(checkonly) $(ignorewarnings)
//all flags are optional for more information check:
https://developer.salesforce.com/docs/atlas.en-us.sfdx_cli_reference.meta/sfdx_cli_reference/cli_reference_force_source.htm
//for monitoring the deployment
sfdx force:source:deploy:report
//for canceling the deployment if something went wrong
sfdx force:source:deploy:cancel
Done!
References:
https://developer.salesforce.com/docs/atlas.en-us.sfdx_dev.meta/sfdx_dev/sfdx_dev_auth_jwt_flow.htm